Discover the craft - How to make a Clay Pot? How are Terracotta pots made?
It is fascinating to see how are terracotta pots made by hand. The process begins with a ball of clay that is slowly worked and shaped into a pot. Once the pot is the desired shape, it is then dried and after that placed in a kiln to harden. They are not only beautiful but also durable, making them perfect for both indoor and outdoor use.
History of terra cotta pots
Terra cotta have been around for centuries and have been used for a variety of purposes. Their first recorded use was in China, where they were used to store and transport food and water. They were also popular in ancient Rome, where they were used to cook food. So what is terracotta?, the word “terracotta” comes from the Latin word for “cooked earth.”

Indus civilisation and Pottery
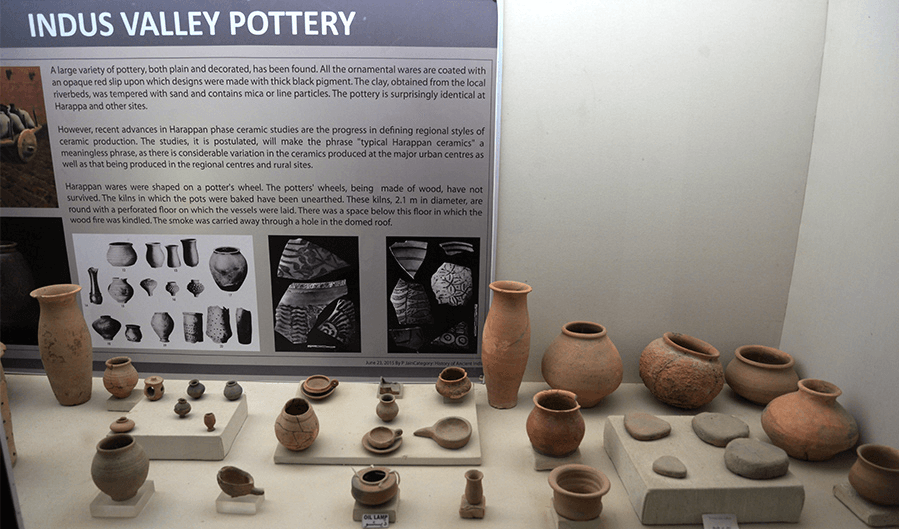
Their use can be traced back to ancient civilizations, such as the Indus civilization. The Indus civilization, which existed around 2500 BCE, was known for their advanced pottery skills.
They created a variety of vessels, that were used for everyday tasks such as cooking and storing food.
How Indus Civilization Pottery was made
How to make clay Pots without a wheel?
The Indus Civilization people made pottery using a process called coil and scrape. They would start by creating a base, often in the shape of a bowl, by coiling strips of clay on top of each other. Once the base was formed, they would smooth and shape the pot using a scraping tool.
Characteristics of Indus Civilization Pottery
The pottery is also characterized by its high level of skill and craftsmanship, with pot and bowls that are symmetrical and well-formed.
Significance of Indus Civilization Pottery
Indus Civilization pottery not only served functional purpose but also played an important role in the religious and cultural life of the civilization. Pottery also gave an insight into the daily lives of the Indus people and their beliefs, customs, and social organization.
Today, Indus Civilization pottery serves as an important source of information for historians and archaeologists studying this ancient civilization.
If you would like to learn more about the Indus civilisation & how to make large terracotta pots or how to make clay pots without a kiln , then there are plenty of resources available online and in libraries. You can also visit some of the archaeological sites where the Indus people once lived, such as Mohenjo-daro in Pakistan.
How are terracotta pots made today?
Today, modern pottery techniques such as the potter’s wheel and kiln firing have allowed for mass production, making them widely available and affordable for gardeners, farmers & households.
Understanding the Nuances of Terracotta Quality
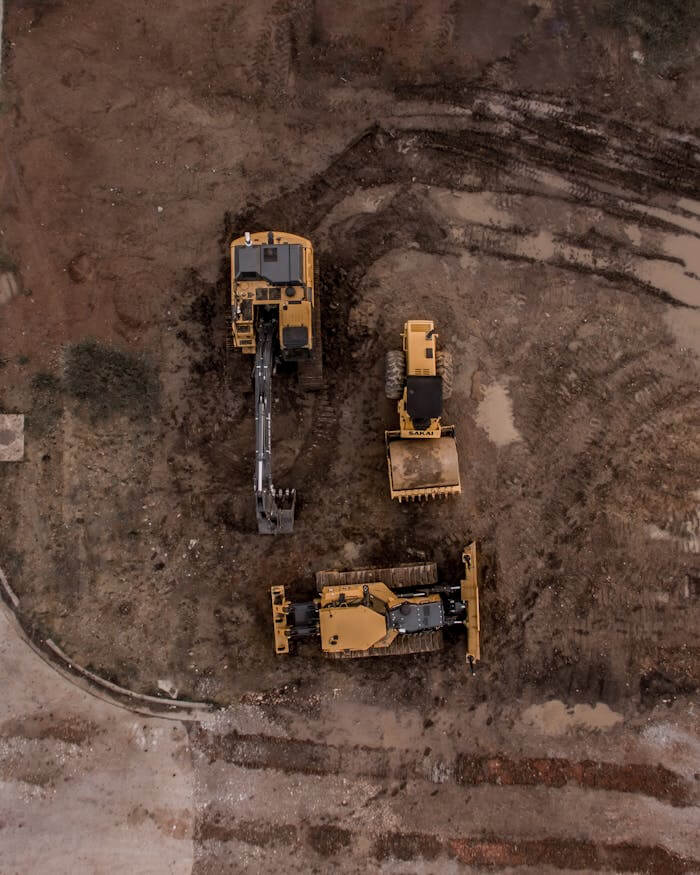
The quality of the clay is of utmost importance. That’s why the best potters only use the finest clay available for their wares. This clay is usually excavated from riverbanks or other bodies of water. Beyond the source of the clay, the techniques employed during the creation process play a pivotal role. Using the Colombino technique, for instance, can yield aesthetically pleasing results even with lesser quality clay. However, it’s crucial to consider that while the pot may look good, its mechanical strength and frost resistance might be compromised if not handled correctly.
Moreover, the firing cycle is another critical factor that cannot be overlooked. A poorly managed firing cycle can drastically affect the quality of the terracotta, impacting both its durability and appearance. Therefore, it’s not only about using the best materials but also about mastering the art of pottery making through precise techniques and careful firing.
After firing, it’s important to check its quality before shipping it to the customer. Start by looking carefully around the pot, proceeding to the outside of the pot, inside of the pot, and most importantly the bottom of the pot to make sure it has no cracks, chips, or any other defects. We check if the pot has been made to the correct size and shape. If the pot passes all these checks, it is considered to be of good quality and ready to be shipped to the customer.
By understanding and controlling these aspects, from the choice of clay to the specifics of the crafting techniques and firing conditions, potters can ensure that they deliver a product that is not only visually appealing but also robust and long-lasting.
Kneading Clay for Terracotta Pot
Step 1: Wetting the Clay
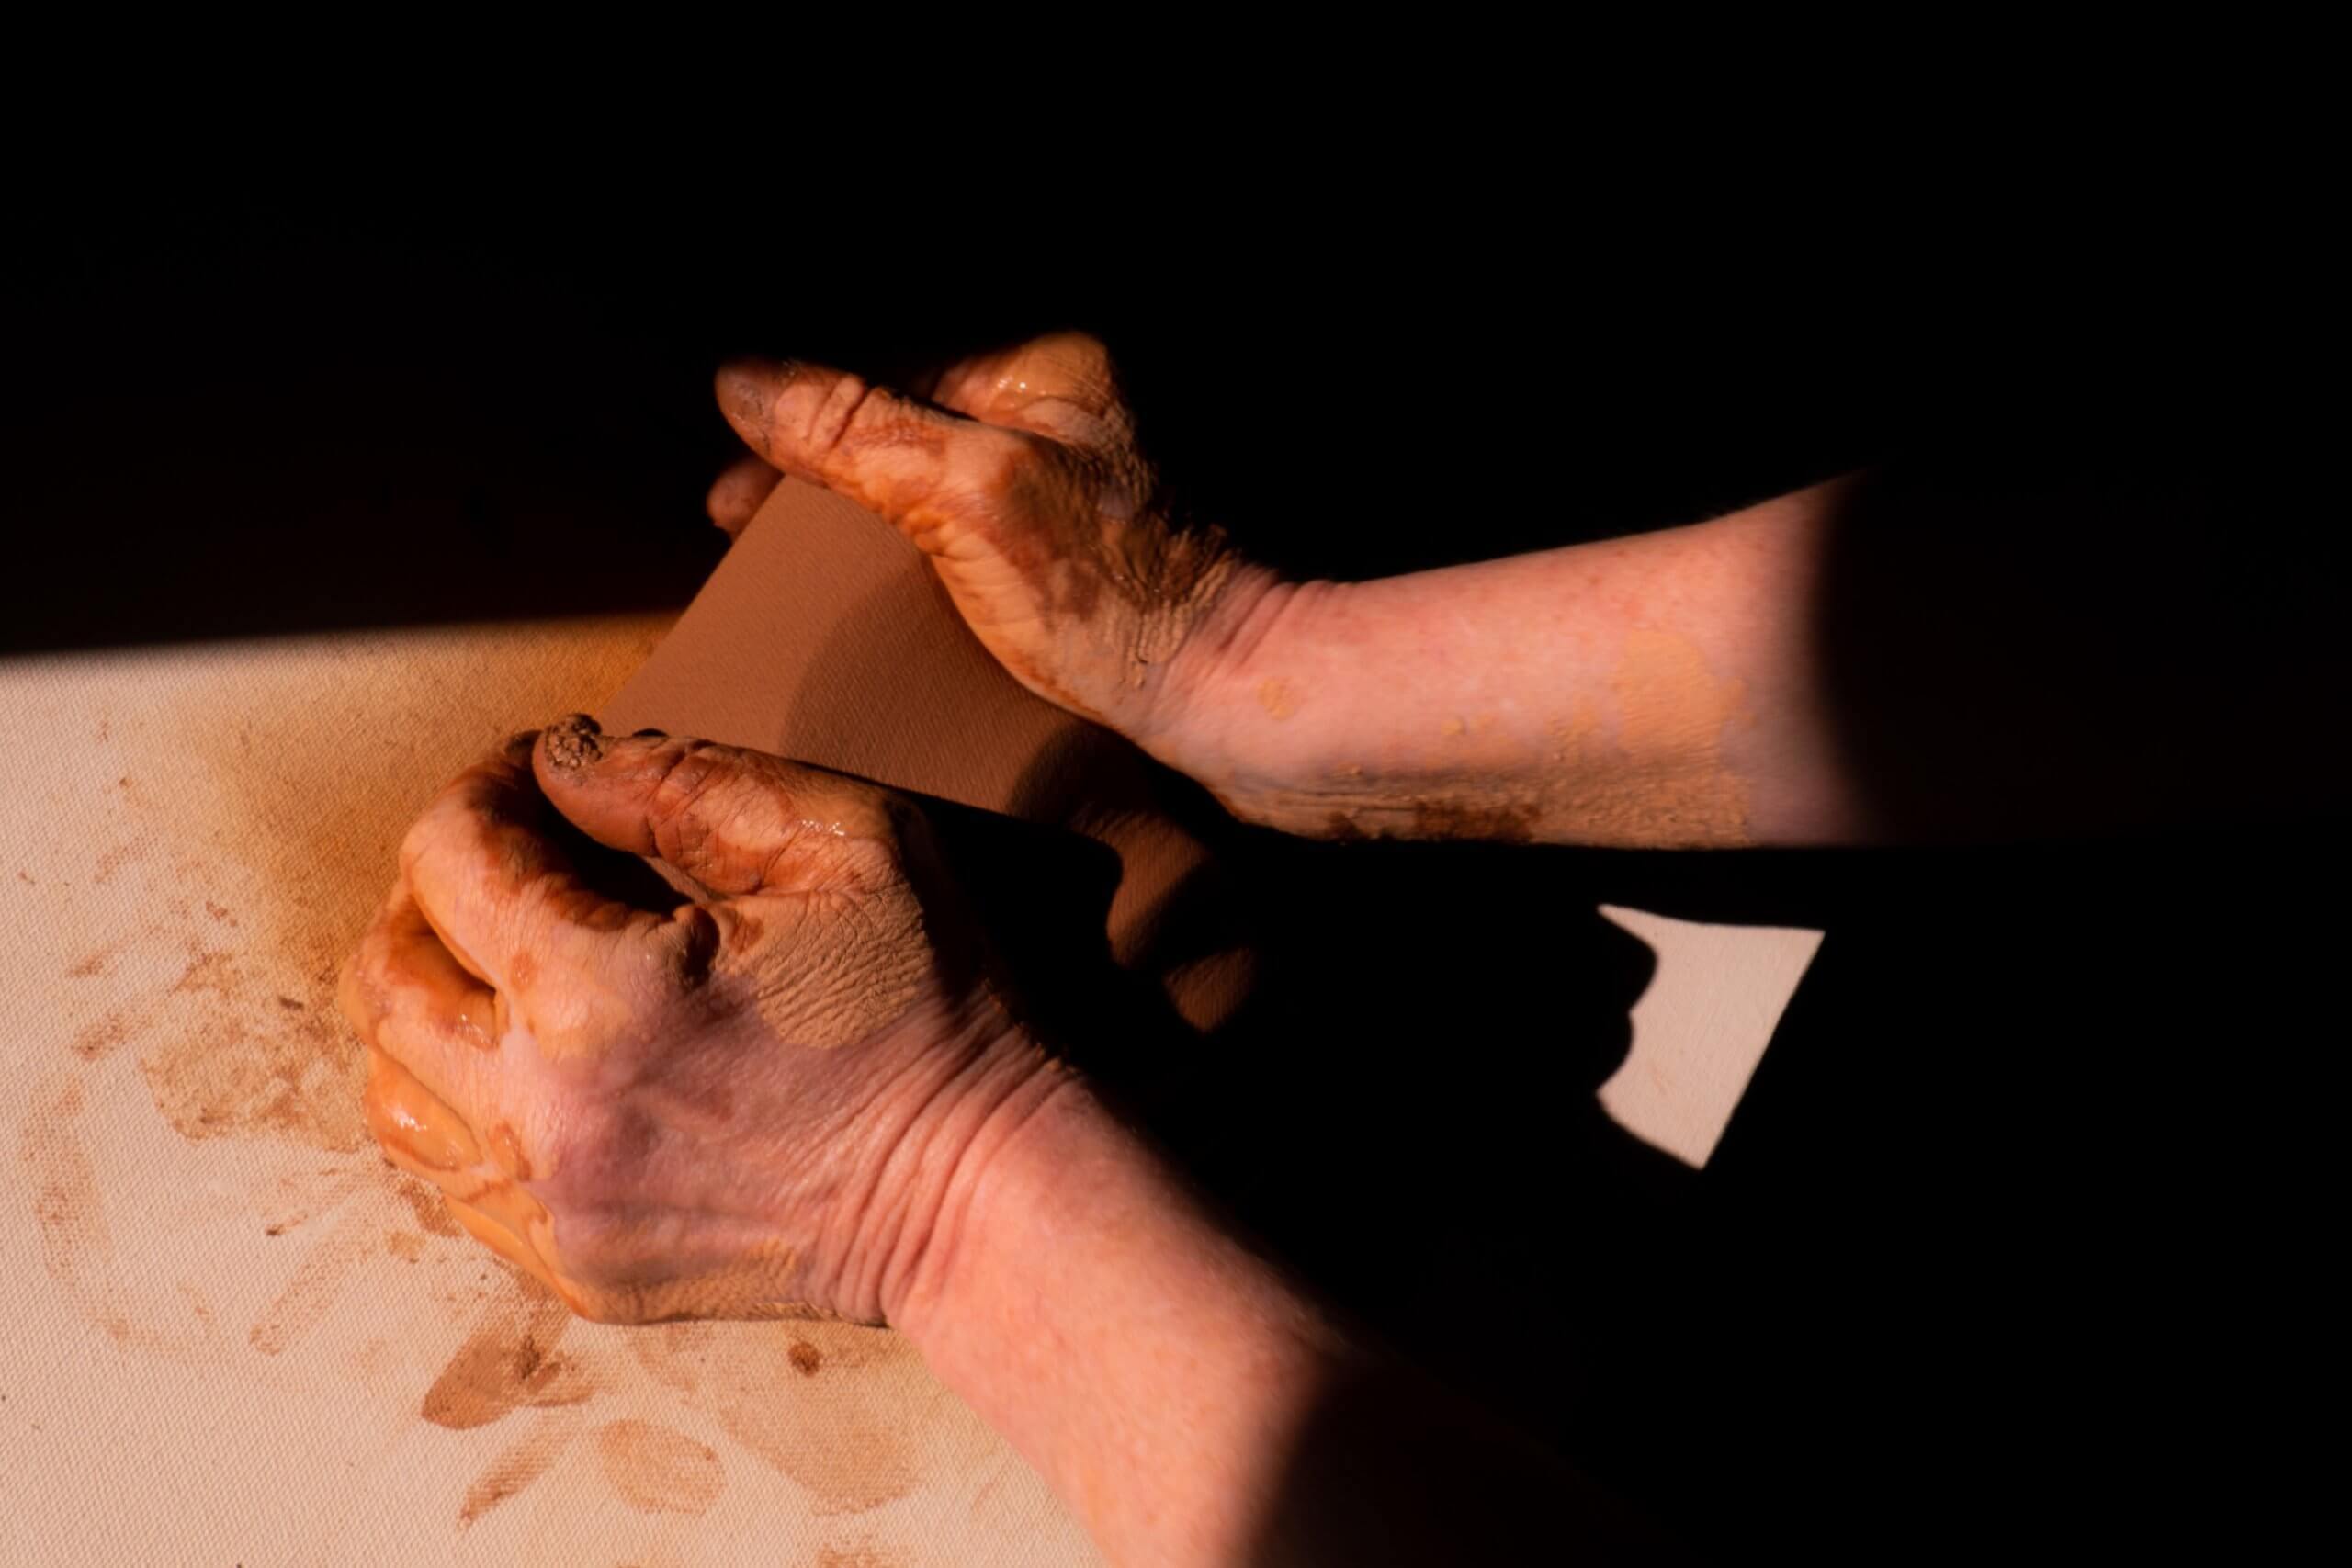
To knead clay, you’ll need to soak it using one part water to moist the clay. This will make it easier to work with and prevent the clay from sticking to your hands and remove the air bubbles.
Step 2: Folding and Pressing
Then, fold the clay over on itself and press down with your palms. Continue doing this until the clay is smooth and free of lumps.
Step 3: Adjusting Consistency
If you find that your clay is too dry, you can add a little amount of water until it reaches the right consistency. Conversely, if your clay is too wet, you can also use more clay to it or let it sit out to dry out more quickly.
Step 4: Shaping the Clay
Once you’ve got your clay ready, you can start shaping it into anything you desire! Kneading the clay is an essential step to ensure the final product has a smooth surface and the desired shape.
Throwing Terracotta Pots On Potter's Wheel
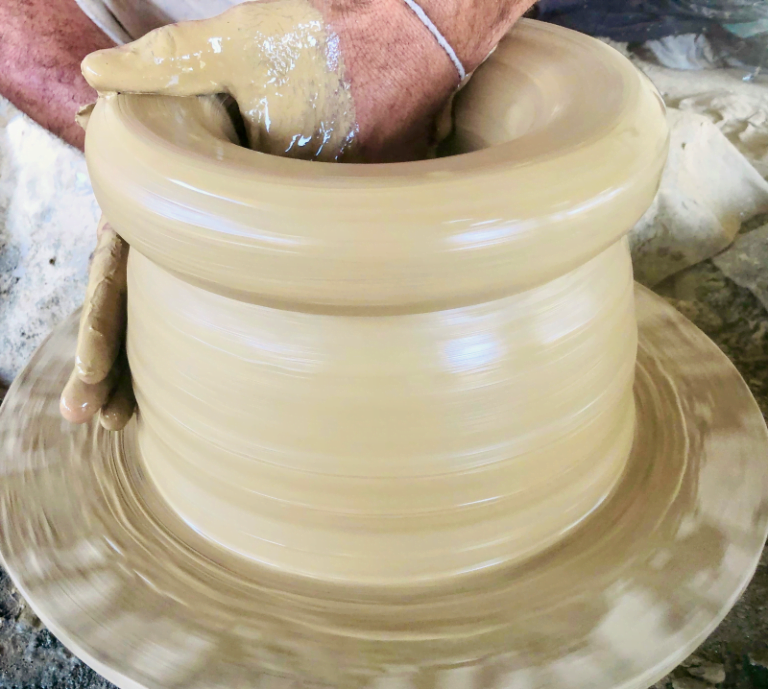
When it comes to throwing on a potter’s wheel, there are a few things you need to keep in mind.
Consistency of the Clay
First, make sure the clay is at the right consistency. If it’s too wet, it will be difficult to work with; if it’s too dry, it will be brittle and may crack during firing.
Measure the Diameter of the Base
Second, use a piece of thread or twine to measure the diameter of the base of the pot before you begin throwing it. This will help you create an evenly-sized pot.
Trim the Rim
Finally, when you’re finished throwing the pot, use a sharp knife to cut off any excess clay from the rim. This will give the pot a clean and finished look and make it easier to handle during the next steps of the process.
Drying Terracotta Pots
Allow the pot to dry before it can be fired. The drying process can take anywhere from a few days to a few weeks, depending on the size and thickness. To speed up the drying process, potters often place them in a kiln or an oven set at a low temperature. This helps to evaporate any moisture that is still inside the pot. Once it is dry, it can be fired.
Firing
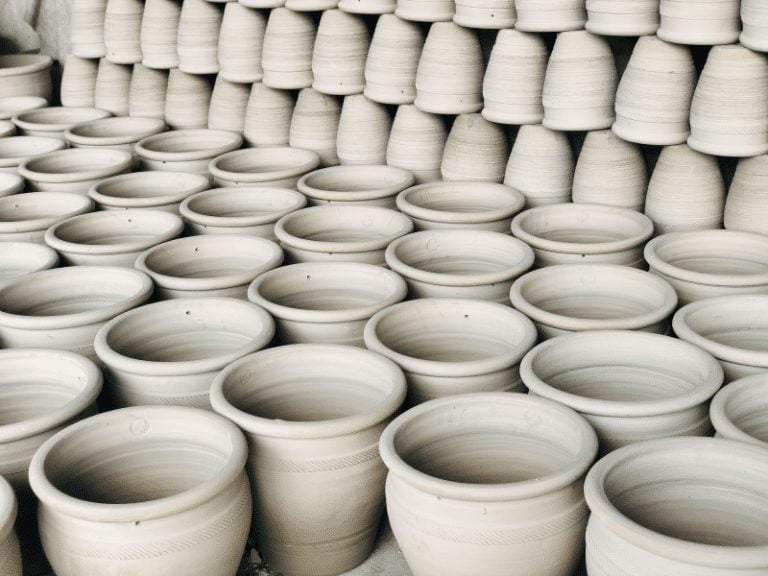
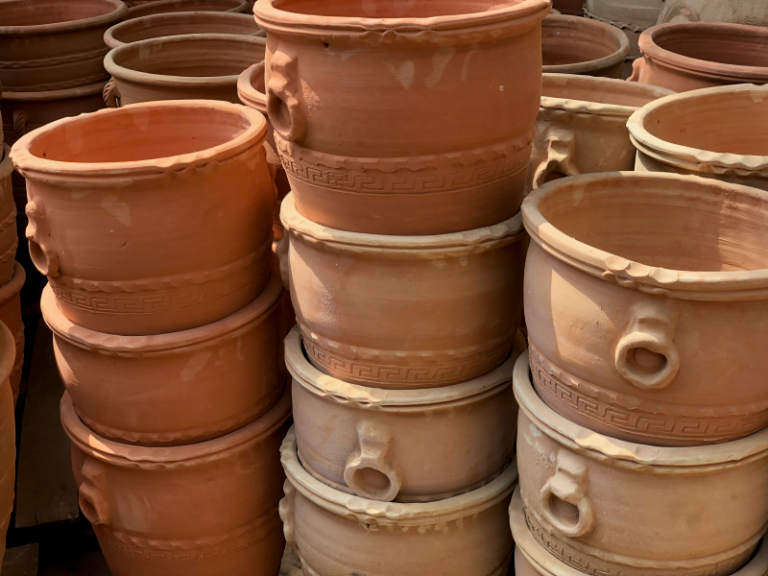
Firing is typically done in a kiln, which is a type of oven that can reach very high temperatures. They are made by first shaping the clay into the desired form. Once the pot is shaped, it is then dried, then placed in the kiln and fired at a high temperature.
Firing helps to make them stronger and more durable. If they have been fired correctly should be light pink color. If they are not fired correctly, they can develop cracks or other imperfections.
Quality check & Inspection
After firing, it’s important to check its quality before shipping it to the customer. This step is called Quality Check and Inspection.
We start by looking at one pot at a time. Start by looking carefully around the pot, proceeding to the outside of the pot, inside of the pot, and most importantly bottom of the pot to make sure it has no cracks, chips or any other defects. We check if the pot has been made to the correct size and shape.
If the pot passes all these checks, it is considered to be of good quality and ready to be shipped to the customer.
If the pot fails any of the checks, it will be fixed or rejected.
This is a step that we take to make sure the pots we make are of good quality and ready to be used by the customer. We check for defects, size, shape, color, weight, and durability to ensure that the customer gets a perfect flower pot.
Packaging & Shipment
We make sure that once the pots have passed the final inspection and quality check, they are packaged properly to ensure they reach the customer in good condition.
First, we clean the pots thoroughly to remove any excess clay or debris, using a soft cloth or brush to avoid any scratches or damage. Then, we nest the pots with packaging material to prevent damage during transport.
Next, we place the pots on wooden pallets that are sized to accommodate them, with enough room for additional packing materials to keep the pots secure & shrink wrap them. We label the pallet with the appropriate handling instructions and the destination address.
After that, we ship the pots via a freight carrier, depending on the destination and quantity of pots being shipped.
It’s crucial for us to work with a reliable and experienced packaging and shipping company to ensure that the pots are handled with care and reach the customer in perfect condition.
Packaging for shipment is an important step in the process. We take great care to package the pots properly to ensure that they reach the customer in good condition and ready to use.
How is the lathe gypsum mold cast technique used to create round terracotta pots?
Creating terracotta pots with a lathe gypsum mold cast technique is efficient and straightforward, making it a popular choice among pottery makers. Here’s a simple breakdown of how this process works:
Step-by-Step Guide to Using a Lathe Gypsum Mold Cast Technique
Preparing the Machine: Start by setting up either a fully or semi-automatic machine designed for this kind of mold casting. Most machines require minimal setup to start creating pots.
Loading the Clay: Place the clay into the machine’s mold. This mold determines the pot’s final shape, whether round, square, or styled with decorations.
Molding Process: Once the clay is loaded, the machine takes over. It presses the clay into the shape of the mold and performs the casting. After the casting, it automatically releases the molded clay.
Removal from the Mold: The newly formed pot is then separated from the mold using compressed air. This step is crucial as it ensures the pot maintains its shape without sticking to the mold.
Manual Finishing: Although the casting is automated, the pot requires a manual finishing touch. This step is essential for refining the details and ensuring the quality of the pot’s surface.
Final Product: After finishing, the pot resembles those made by traditional handcrafting methods. It retains all the essential properties such as frost resistance, making it both functional and durable.
Through this technique, creating large quantities of uniform terracotta pots becomes a much easier task. It combines the efficiency of modern machinery with the precision of manual craftsmanship, resulting in high-quality pots suited for various decorative and practical uses.
What are the pros and cons of using handmade gypsum mold cast for terracotta production?
Pros and Cons of Using Handmade Gypsum Mold Casts for Terracotta Production
When considering the production techniques for terracotta, using handmade gypsum molds presents a set of distinct advantages and challenges. Evaluating these can help determine if this method aligns with your production needs and goals.
Advantages of Handmade Gypsum Molds:
Versatility in Design: One of the primary benefits of using gypsum molds is their versatility. These molds can be crafted to create terracotta pots in any desired size or shape, accommodating custom and varied designs that meet specific customer demands.
Consistency in Production: Gypsum molds are particularly useful for producing large quantities of identical pots. This consistency is crucial for maintaining quality and uniformity in mass production settings.
High-Quality Aesthetics: Terracotta products made with gypsum molds generally exhibit a high aesthetic quality. The precision of mold casting results in smooth and detailed finishes that can elevate the visual appeal of the pots.
Customization Options: The ability to tailor designs based on specific requirements is a significant advantage. This flexibility allows for the creation of unique and personalized products that stand out in the market.
Challenges of Handmade Gypsum Molds:
Perception of High Cost: Although the quality-to-price ratio of gypsum mold casting is excellent, the initial perception of high costs can be a deterrent. It’s important for producers to communicate the value and craftsmanship behind the price to mitigate this issue.
Time-Intensive Production: Crafting terracotta using gypsum molds can be a slow process, particularly when intricate designs are involved. However, utilizing multiple molds simultaneously can help scale up the production rate, albeit this requires additional investment.
In summary, while handmade gypsum molds offer a high degree of customization and consistency in terracotta production, the perceived high cost and production time are factors that need careful consideration. These aspects play a crucial role in determining the feasibility and efficiency of using this production method in a commercial setting.
Exploring Press Machining with Metal Molds in Terracotta Production
Press machining using metal molds marks a distinctive approach in the creation of terracotta pots, setting itself apart from more traditional handcrafting techniques. This method leverages either fully or semi-automatic machines that streamline the majority of the production process, transforming it into a less labor-intensive affair.
Automated Manufacturing Process: At the heart of press machining is the automation of the initial forming stages. Here, clay is loaded into a mold inside the machine. Once initiated, the machine automatically executes the casting and mold release processes for the pot. This automated system efficiently manages large-scale production runs, making it particularly suited for commercial output.
Manual Finishing Touches: Despite the heavy reliance on machinery, the finishing of each pot is meticulously done by hand. This human touch ensures that each piece retains a level of unique artistry, typically associated with handcrafted pots. The manual finishing not only enhances the aesthetic value but also maintains good quality control.
Design Flexibility and Limitations: While press machining offers a variety of shape options—ranging from round to square and including decorated variants—there are geometric limitations. Complex, intricate designs that can be achieved through handcrafting might not always be possible with this technique. Additionally, the precision of the machinery might leave minor imperfections, such as an irregular rim, which could underscore the industrial process used.
Product Characteristics: In terms of physical properties, pots produced via press machining show comparable characteristics to those crafted by hand, such as frost resistance. This suggests that despite the mechanical production, the end products retain essential functional qualities.
Cost-Effectiveness and Production Efficiency: A significant advantage of using metal molds and press machines is the competitive pricing and enhanced production speed. This method allows for rapid scaling of pot production without a proportional increase in cost, making it economically advantageous for larger operations.
In summary, press machining with metal containers offers a modern twist to terracotta pot production. It combines the efficiency and scalability of automated machinery with the artisanal charm of hand-finishing, although it faces some design constraints compared to fully handcrafted techniques.
Pros and Cons of Using Metal Molds for Industrial Production of Terracotta Pots
Pros:
- Cost-Efficiency: Metal molds offer a highly cost-effective solution, particularly suitable for large-scale production.
- Enhanced Production Speed: These molds significantly accelerate the manufacturing process, ensuring quicker turnarounds.
- Consistent Quality: Metal molds deliver a flawless finish, maintaining uniformity that’s emblematic of machine-crafted pots.
Cons:
- Frost Susceptibility: Terracotta pots produced this way tend to have lower resistance to frost, which can be a disadvantage in colder climates.
- Limited Design Options: The shapes produced are often basic and lack intricate detailing.
- Rudimentary Aesthetics: The designs typically exude a minimalistic and understated look.
- No Customization: There’s little to no room for personalization, restricting unique or bespoke creations.